Applying for a USA visitor visa (B-2) can be overwhelming, but with the right guidance, it’s manageable. This comprehensive guide walks you through eligibility, documentation, interview preparation, and visa processing—helping you avoid common pitfalls. Whether you’re visiting for tourism, family, or medical care, understanding the process increases your chances of approval.
Key Takeaways
- Eligibility Matters: You must prove strong ties to your home country and intent to return after your U.S. visit.
- Complete the DS-160 Form: This online application is required for all nonimmigrant visa applicants and must be accurate and truthful.
- Schedule Your Interview: Book an appointment at the nearest U.S. embassy or consulate—wait times vary by location and season.
- Gather Required Documents: Passport, photo, financial proof, travel itinerary, and invitation letters are essential.
- Practice Your Interview: Be ready to answer questions about your trip, finances, and plans clearly and honestly.
- Pay the Visa Fee: The non-refundable fee must be paid before booking your interview slot.
- Check Processing Times: Allow extra time for background checks and administrative processing, especially during peak seasons.
📑 Table of Contents
- Introduction: Your Gateway to the USA
- Understanding the USA Visitor Visa (B-2)
- Step 1: Determine Your Eligibility
- Step 2: Complete the DS-160 Form
- Step 3: Pay the Visa Application Fee
- Step 4: Schedule Your Visa Interview
- Step 5: Gather Required Documents
- Step 6: Attend the Visa Interview
- Step 7: Prepare for Possible Administrative Processing
- Common Mistakes to Avoid
- Reapplying After a Denial
- Conclusion: Your Path to the USA Starts Here
Introduction: Your Gateway to the USA
Dreaming of exploring the Golden Gate Bridge, cruising through Times Square, or relaxing on Florida’s beaches? A USA visitor visa, also known as a B-2 visa, is your ticket to experiencing America firsthand—whether for tourism, visiting family, attending a special event, or even receiving medical treatment. But before your passport stamped with “B-2” becomes a reality, you’ll need to navigate the U.S. visa application process.
Many applicants feel overwhelmed by the paperwork, interview expectations, and strict documentation rules. The good news? With the right preparation, your application can be smooth and successful. This guide breaks down every step—from understanding eligibility to walking into your interview with confidence. Whether you’re applying for the first time or reapplying after a denial, you’ll find practical tips, real-life examples, and clear explanations to help you succeed.
Understanding the USA Visitor Visa (B-2)
The B-2 visitor visa allows foreign nationals to enter the United States temporarily for tourism, vacation, visiting friends or family, medical treatment, or participating in social events. It’s important to note that this visa does not permit employment or long-term stays. If you’re considering working in the U.S., you’d need a different visa category, such as a work visa (H-1B) or student visa (F-1).
Visual guide about Usa Visitor Visa Application Guide
Image source: images.template.net
Who Needs a B-2 Visa?
Most travelers from countries participating in the U.S. Visa Waiver Program (VWP) do not need a B-2 visa if they’re staying for less than 90 days—they can use the Electronic System for Travel Authorization (ESTA) instead. However, if your country is not on the VWP list, or if you’re planning to stay longer, visit for medical reasons, or need a formal visa stamp, a B-2 application is required.
Visa vs. ESTA: What’s the Difference?
While ESTA is a simpler, faster way to enter the U.S. for short visits, a B-2 visa is more formal and often required for longer trips, medical procedures, or if you’ve previously overstayed in the U.S. Unlike ESTA, which is approved online and linked to your passport, a B-2 visa must be physically stamped in your passport and issued by a U.S. consulate.
Step 1: Determine Your Eligibility
Before you start filling out forms, ask yourself: “Can I prove I’ll return to my home country?” U.S. consular officers prioritize applicants who demonstrate strong ties to their home country—such as family, property, job, or financial commitments. If you’ve previously overstayed a U.S. visa or violated immigration rules, you may face additional scrutiny.

Visual guide about Usa Visitor Visa Application Guide
Image source: soplorwriters.com
Common Red Flags
- No stable employment or income
- No family or property in your home country
- Previous visa denials or overstays
- Unclear travel plans or lack of return intent
Tip: If you’re a student, show your school enrollment and graduation date. If you’re employed, provide a letter from your employer confirming your position and leave approval.
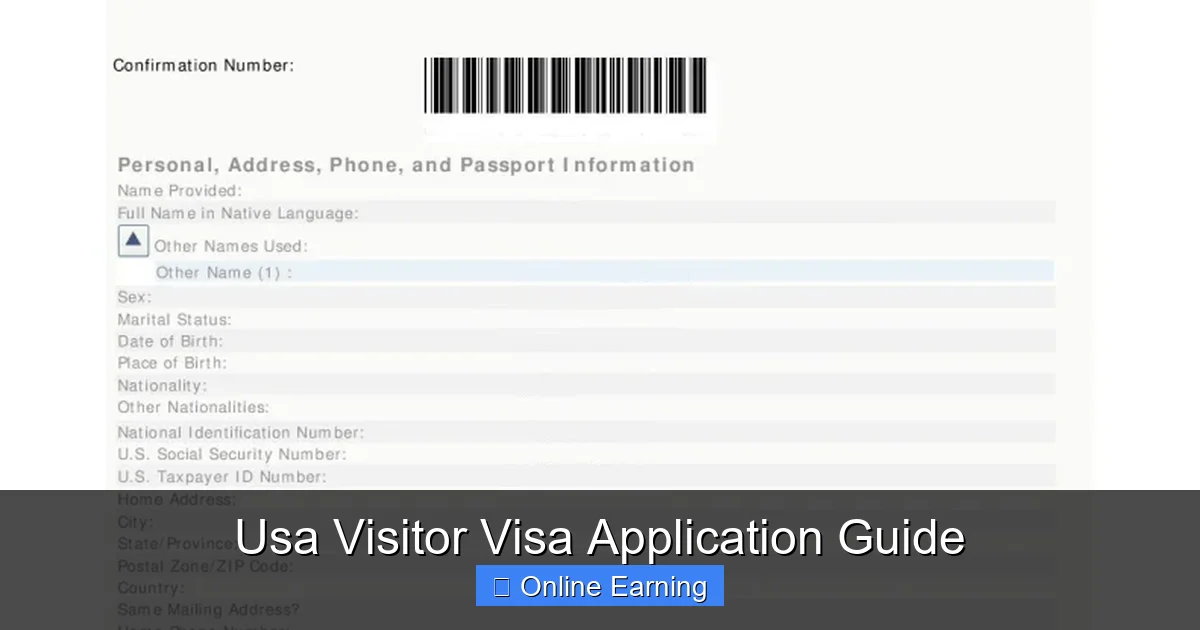
Step 2: Complete the DS-160 Form
The DS-160 is the official nonimmigrant visa application form. It’s available online and must be completed in one sitting—you can’t save and return later. The form asks for personal details, travel plans, employment history, and previous U.S. visits.
Visual guide about Usa Visitor Visa Application Guide
Image source: i0.wp.com
Tips for Filling Out the DS-160
- Use an English keyboard to avoid character encoding issues.
- Double-check spelling and dates—errors can delay processing.
- Upload a recent passport-style photo that meets U.S. visa requirements (2×2 inches, white background, no glasses).
- Answer all questions truthfully. Lying can result in permanent ineligibility.
Example: If you’re visiting a cousin in California, list their name, address, and relationship. If you’re attending a wedding, include the event details and host information.
Step 3: Pay the Visa Application Fee
After submitting the DS-160, you’ll receive a confirmation page with a barcode. Use this to pay the non-refundable visa fee. As of 2024, the B-2 fee is $185, but it can vary slightly by country. Payment methods include bank transfers, credit cards, or in-person payment at authorized banks.
Important: Only pay the fee after submitting the DS-160 and receiving the confirmation. Never pay before confirming your eligibility.
Step 4: Schedule Your Visa Interview
Book your interview appointment through the U.S. Department of State’s official website. Wait times vary—some consulates have appointments available in a week, while others may have waits of several months, especially during peak travel seasons (spring and summer).
Choosing the Right Time
- Avoid major holidays and school breaks when travel surges.
- Apply early if you have a fixed travel date.
- Some applicants opt for premium services like Visa Interview Waivers (if eligible) to skip the interview entirely.
Pro Tip: If you’re applying from a high-volume city like Mumbai or Delhi, consider applying from a smaller consulate where wait times may be shorter.
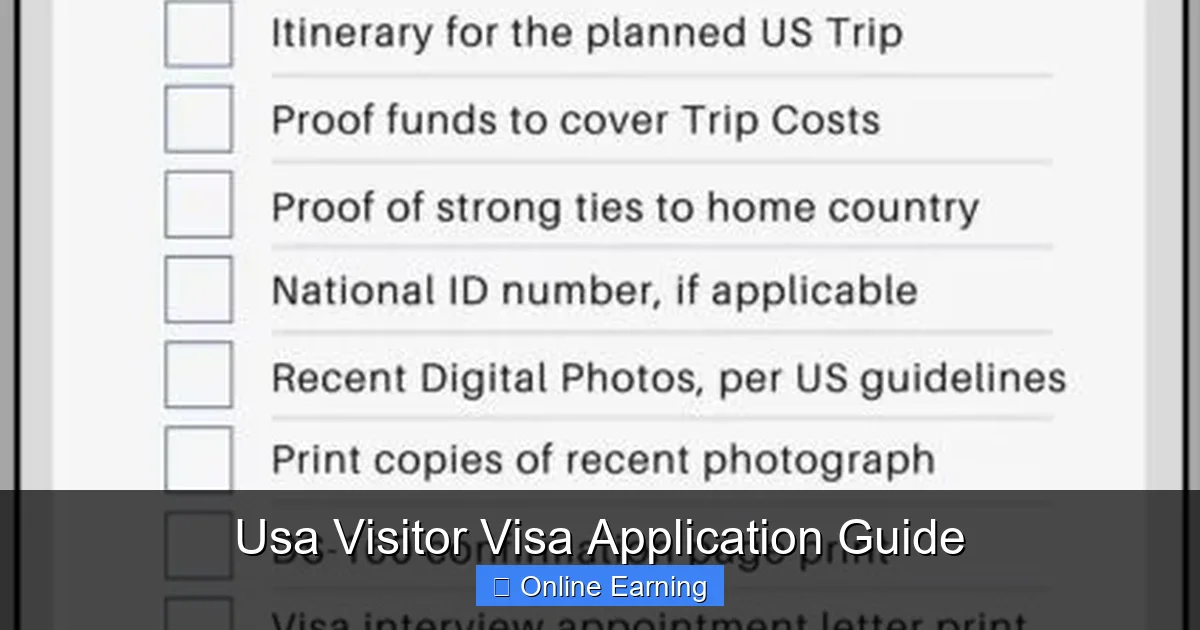
Step 5: Gather Required Documents
On the day of your interview, bring all original documents and photocopies. Consular officers will review your file and may ask for additional proof. Here’s a checklist:
- Valid passport (valid for at least six months beyond your intended stay)
- DS-160 confirmation page
- Visa fee receipt
- Appointment confirmation letter
- Recent passport photo
- Proof of ties to your home country (employment letter, property deed, family photos)
- Financial documents (bank statements, salary slips, sponsorship letter)
- Travel itinerary (flight bookings, hotel reservations)
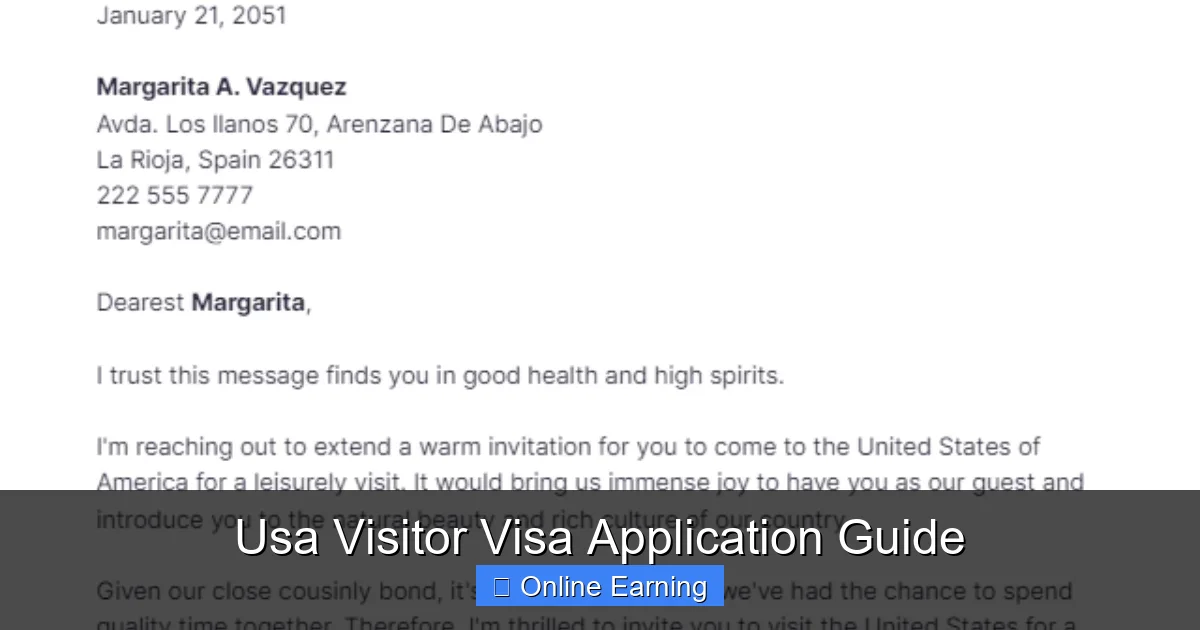
- Invitation letter (if visiting someone in the U.S.)
Example: Maria, a teacher from Manila, brought her school ID, latest payslips, a signed leave letter, and photos of her home and children to prove she’d return after her 10-day trip to New York.
Step 6: Attend the Visa Interview
The interview typically lasts 5–10 minutes. Be polite, speak clearly, and avoid memorized answers. Consular officers ask questions to assess your intent and credibility.
Common Interview Questions
- Why are you visiting the United States?
- How long do you plan to stay?
- Who is hosting you in the U.S.?
- What do you do for a living?
- Where will you stay?
- Do you have family in the U.S.?
Sample Answer: “I’m visiting my sister in Chicago for three weeks to celebrate her graduation. I’ve been planning this trip for a year. I’m a graphic designer in Dubai, and I’ve saved for this trip. I’ve booked a hotel and return flight. I have a home and a mortgage in Dubai, and I return to work on June 15th.”
What Happens After the Interview?
If approved, your passport with the visa stamp will be returned by mail or picked up in person. Processing can take 3–7 business days. If denied, you’ll receive an explanation and can reapply after addressing the concerns.
Step 7: Prepare for Possible Administrative Processing
In some cases, your application may be flagged for “administrative processing.” This means additional background checks by U.S. security agencies. It can add 2–3 weeks to processing time. You’ll be notified by email or letter.
Why Does This Happen? It may occur if you have traveled to sensitive regions, have a name similar to someone on a watchlist, or have a prior visa denial.
Stay patient and respond promptly to any requests for additional information.
Common Mistakes to Avoid
- Unclear Travel Plans: Vague itineraries raise suspicion. Always book flights and hotels in advance.
- Insufficient Financial Proof: Bring recent bank statements (last 3–6 months) and income documents.
- Overstaying Previous Visas: Disclose all past U.S. visits, even if informal.
- Providing Incomplete Information: Double-check every field on the DS-160.
- Arriving Late or Unprepared: Bring all documents and arrive 15 minutes early.
Reapplying After a Denial
If your visa is denied, don’t panic. Review the reason—it’s usually printed on the denial letter. Common reasons include insufficient ties to your home country or suspicion of immigration intent.
You can reapply, but improve your application. For example, if denied due to lack of income, provide a sponsorship letter from a relative with proof of funds. If denied due to unclear travel plans, book confirmed flights and accommodations.
Note: There’s no limit on how many times you can apply, but each attempt should address the previous concerns.
Conclusion: Your Path to the USA Starts Here
Applying for a USA visitor visa may seem daunting, but breaking it into manageable steps makes it achievable. From understanding eligibility to acing your interview, preparation is key. Remember, consular officers aren’t trying to stop you—they’re ensuring you meet the requirements for a temporary visit.
Take your time, gather strong supporting documents, and answer questions honestly. With persistence and the right guidance, your B-2 visa can become your passport to unforgettable American experiences. Start early, stay organized, and believe in your ability to succeed.
Frequently Asked Questions
What is the difference between a B-2 visa and ESTA?
A B-2 visa is a formal, paper-based visa required for longer stays, medical visits, or if you’re from a non-VWP country. ESTA is an online authorization for short visits (under 90 days) from VWP countries and doesn’t require an interview or physical stamp.
How long does it take to get a B-2 visa?
Processing typically takes 3–7 business days after your interview. However, administrative processing can extend this to 2–4 weeks. Apply early if you have a fixed travel date.
Can I work in the U.S. on a B-2 visa?
No. The B-2 visa is strictly for tourism, medical treatment, or personal visits. Any form of employment requires a different visa, such as an H-1B or L-1.
Do I need a sponsor for a B-2 visa?
No, but a sponsor (friend or relative) can help by providing an invitation letter and proof of financial support. This strengthens your application by showing someone will support you during your stay.
Can I extend my B-2 visa?
Yes, but only within the U.S. by filing Form I-539 with U.S. Citizenship and Immigration Services (USCIS). Extensions are rarely granted unless there’s a compelling reason, like medical treatment.
What happens if my visa application is denied?
You’ll receive a written explanation. You can reapply after addressing the reasons for denial, such as providing stronger ties to your home country or clearer travel plans.