
Claiming medical insurance doesn’t have to be overwhelming. With the right knowledge and preparation, you can navigate the process quickly and stress-free. This guide walks you through every step—from understanding your policy to submitting documents—so you spend less time worrying and more time healing.
Key Takeaways
- Understanding How to Claim Medical Insurance Without Stress: Provides essential knowledge
📑 Table of Contents
- How to Claim Medical Insurance Without Stress: A Simple, Step-by-Step Guide
- Understanding Your Medical Insurance Policy
- Preparing for a Smooth Claim Process
- How to File Your Medical Insurance Claim
- Tracking and Managing Your Claim
- Common Mistakes to Avoid When Claiming Medical Insurance
- How to Appeal a Denied Claim
- Tips for Reducing Out-of-Pocket Costs
- Conclusion: Claim with Confidence
How to Claim Medical Insurance Without Stress: A Simple, Step-by-Step Guide
Medical emergencies don’t follow a schedule, and neither do insurance claims. Yet, when you’re recovering from an illness or injury, the last thing you want is to be bogged down by paperwork, confusion, or delays. The good news? Claiming medical insurance doesn’t have to be stressful. With a little preparation and the right approach, you can breeze through the process—and get the coverage you’ve paid for.
In this comprehensive guide, we’ll walk you through everything you need to know to claim your medical insurance without the usual headaches. From understanding your policy to submitting documents and tracking your claim, we’ll cover practical tips, common pitfalls, and real-life examples to make the process as smooth as possible. Whether you’re new to health insurance or just looking to streamline your next claim, this article will empower you to take control—without the panic.
Understanding Your Medical Insurance Policy
Visual guide about How to Claim Medical Insurance Without Stress
Image source: i0.wp.com
Before you can file a claim, you need to understand what your policy actually covers. Think of it as your personal roadmap to medical care—without it, you might get lost in the maze of paperwork or end up paying more than you should.
What Is Covered and What Isn’t?
Every insurance policy has a list of covered services, known as the benefits schedule. This includes things like doctor visits, hospital stays, lab tests, and prescription drugs. But it also includes exclusions—services or conditions not covered, such as cosmetic surgery, fertility treatments, or pre-existing conditions (depending on the plan).
For example, if you have a basic health plan, it might cover emergency room visits but not routine dental care. If you’re unsure, ask your insurer for a copy of your policy booklet or log into your member portal to review your benefits.
Know Your Deductibles, Co-pays, and Co-insurance
These are the financial terms that define how much you pay out of pocket. Here’s a quick breakdown:
– Deductible: The amount you pay before insurance kicks in (e.g., $1,000).
– Co-pay: A fixed fee you pay for each service (e.g., $30 for a doctor’s visit).
– Co-insurance: A percentage you pay after meeting your deductible (e.g., 20% of a $500 bill = $100).
Understanding these helps you estimate your costs and avoid surprises. For instance, if your deductible isn’t met, you might pay the full $500 bill—even if your plan covers 80%.
Check Your Network of Providers
Most health plans have a preferred provider organization (PPO) or health maintenance organization (HMO) network. Using in-network doctors and hospitals usually means lower costs and faster claims processing. Out-of-network care can lead to higher bills and denied claims.
Pro tip: Before scheduling an appointment, call your insurer to confirm the provider is in-network. You can also use your insurer’s website or app to search for approved facilities.
Preparing for a Smooth Claim Process
Visual guide about How to Claim Medical Insurance Without Stress
Image source: carunway.com
Once you understand your policy, the next step is preparation. Think of it as packing for a trip—you don’t want to forget your passport (or your medical records).
Collect All Necessary Documents
Before filing a claim, gather the following:
– Itemized medical bills (showing services, dates, and costs)
– Doctor’s notes or discharge summaries
– Prescription receipts
– Lab or imaging reports
– Proof of payment (if you’ve already paid out of pocket)
Keep these in a dedicated folder—either physical or digital (like Google Drive or a cloud folder). Label them clearly and date each document.
Understand the Claim Filing Deadline
Most insurance companies require claims to be submitted within 90 days of receiving care. Some may allow up to a year, but the sooner you file, the faster you get reimbursed. Missing the deadline could mean losing your right to reimbursement entirely.
Set a calendar reminder as soon as you receive treatment. If you’re unsure about the timeline, call your insurer’s customer service—they’ll confirm the deadline for your plan.
Use the Right Claim Forms
Insurers typically provide standardized forms (like CMS-1500 for doctors or UB-04 for hospitals). Make sure you’re using the correct one for the provider type. Filling out the wrong form can delay processing or cause errors.
You can usually download these forms from your insurer’s website or request them by phone. Fill them out neatly, legibly, and completely. If a field doesn’t apply, write “N/A” instead of leaving it blank.
How to File Your Medical Insurance Claim
Visual guide about How to Claim Medical Insurance Without Stress
Image source: carepatron.com
Now that you’re prepared, it’s time to file your claim. The process varies slightly depending on your insurer, but the general steps are the same.
Step 1: Submit Your Claim
You can file a claim in several ways:
– Online: Most insurers have a member portal where you can upload documents and track your claim in real time.
– By Mail: Send completed forms and supporting documents to the address listed on your insurer’s website.
– By Phone: Some insurers allow verbal claims, but you’ll need to follow up with written documentation.
For example, BlueCross BlueShield lets you file claims through their online portal, where you can upload scans of your bills and track approval status.
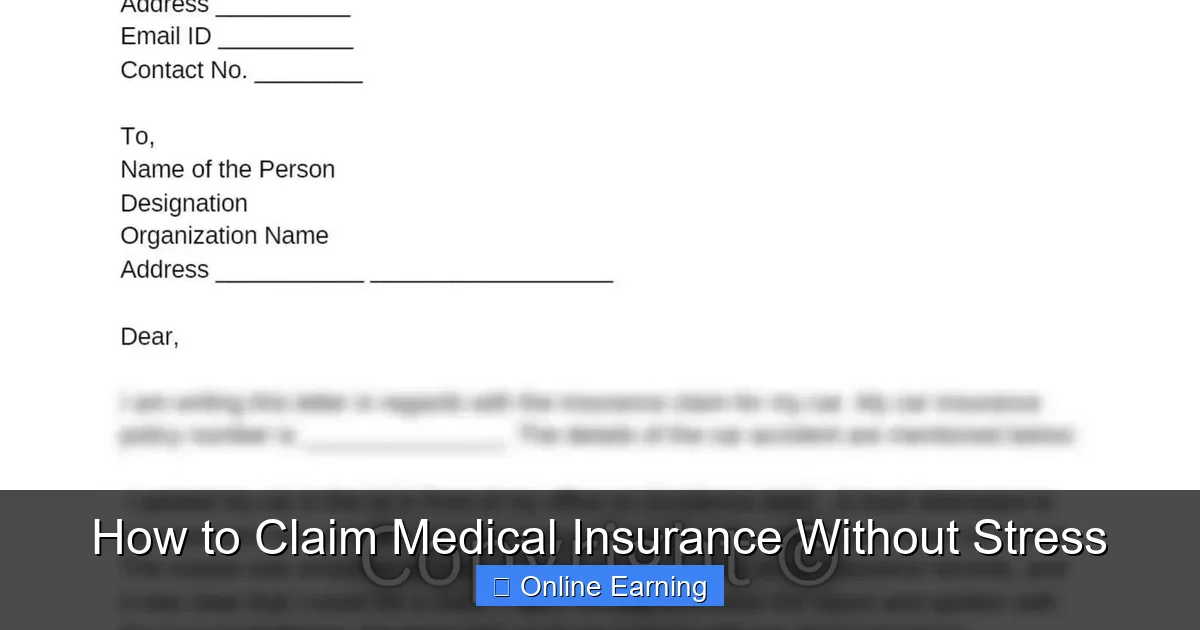
Step 2: Include a Personal Letter (Optional but Helpful)
Adding a brief cover letter can clarify complex cases. For instance, if you’ve already paid a bill and need reimbursement, include a note explaining the situation: “I paid $450 for an MRI on March 10, 2024, and am now submitting a claim for reimbursement under policy #12345.”
This personal touch can help your claim stand out and reduce confusion.
Step 3: Keep Copies of Everything
After submitting your claim, make copies of all documents—including the claim form, bills, and cover letter. Store them securely. You’ll need these if your claim is denied or if you need to follow up later.
Tracking and Managing Your Claim
Once your claim is submitted, the waiting game begins. But don’t just sit and worry—use this time to stay proactive.
Use Online Portals to Monitor Progress
Most insurers offer online dashboards where you can log in and check your claim status. These portals often show:
– Whether your claim was received
– If it’s under review
– If additional information is needed
– The final decision and payment amount
For example, UnitedHealthcare’s “My Health Plan” portal lets you view claim details, download EOBs (Explanation of Benefits), and even message your provider.
Follow Up Regularly
If you haven’t heard back within 15–30 days, call your insurer’s claims department. Ask for a status update and confirm the expected timeline. Be polite but persistent—claims agents are more likely to help if you’re organized and calm.
Understand the EOB
When your claim is processed, you’ll receive an Explanation of Benefits (EOB). This document shows:
– What was billed
– What your insurer paid
– What you owe (if anything)
Review it carefully. If you see errors—like a service that wasn’t provided—contact your insurer immediately.
Common Mistakes to Avoid When Claiming Medical Insurance
Even with the best preparation, mistakes happen. Here are the most common errors—and how to avoid them.
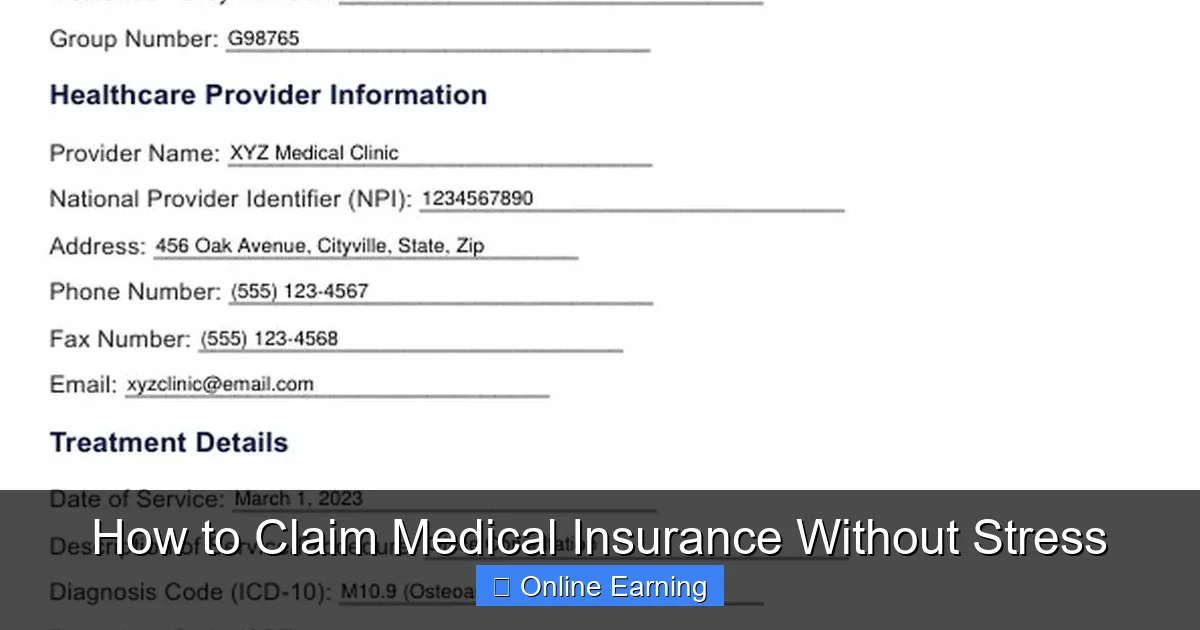
Mistake 1: Submitting Incomplete or Incorrect Forms
A missing diagnosis code or incorrect patient ID can delay or deny your claim. Always double-check:
– Patient name and ID number
– Provider NPI (National Provider Identifier)
– Dates of service
– Diagnosis and procedure codes (CPT/ICD-10)
Use the insurer’s code lookup tool if available. For example, if you’re unsure about a CPT code, search it online or ask your doctor’s office.
Mistake 2: Failing to Use In-Network Providers
Using an out-of-network provider might seem convenient, but it can cost you thousands. For instance, an out-of-network ER visit could cost $2,000 instead of $200 with in-network care.
Before seeking care, verify your provider is in-network. You can call the insurer or use their directory tool.
Mistake 3: Missing the Filing Deadline
Insurers have strict timelines. If you wait too long, your claim may be denied—even if it’s valid. Set reminders for 30, 60, and 90 days after treatment.
Mistake 4: Not Keeping Records
Lost documents can derail your claim. Store everything in one place—digital or physical. Use a labeled folder or cloud storage with backup copies.
Mistake 5: Ignoring the Appeal Process
If your claim is denied, don’t assume it’s final. Most insurers allow you to appeal within 60–180 days. Gather supporting documents (like medical records or letters from your doctor) and submit a formal appeal.
For example, if your physical therapy was denied as “not medically necessary,” ask your doctor to write a letter explaining why it was essential for your recovery.
How to Appeal a Denied Claim
A denied claim can feel defeating—but it’s not the end of the road. Here’s how to appeal effectively.
Understand the Denial Reason
Your EOB or denial letter will explain why your claim was rejected. Common reasons include:
– Out-of-network provider
– Missing information
– Service not covered
– Duplicate claim
Knowing the reason helps you address it directly.
Gather Supporting Evidence
Collect documents that counter the denial. For example:
– A doctor’s letter explaining medical necessity
– Proof of in-network status
– Previous claim approvals for similar services
Submit a Formal Appeal
Follow your insurer’s appeal process, which usually involves:
1. Filing a written appeal within the deadline
2. Including all supporting documents
3. Requesting a review by a medical professional
Be clear, concise, and professional. For example:
> “I am appealing the denial of claim #12345 for physical therapy on March 5, 2024. My doctor has confirmed that the treatment was medically necessary to prevent long-term disability. Enclosed are his notes and a letter of support.”
Escalate if Needed
If the first appeal is denied, ask for a second-level review or escalate to a supervisor. Some states also allow external reviews by independent agencies.
Tips for Reducing Out-of-Pocket Costs
Even with insurance, medical bills can add up. Here’s how to minimize your expenses.
Ask About Payment Plans
If you’ve paid out of pocket, contact your provider to set up a payment plan. Many hospitals offer interest-free options for uninsured or underinsured patients.
Negotiate Your Bills
Hospitals often charge more than necessary. Call the billing department and ask for a good faith estimate or negotiate a discount. For example, you might pay $3,000 for a procedure but negotiate it down to $2,000.
Use Health Savings Accounts (HSAs) or Flexible Spending Accounts (FSAs)
These tax-advantaged accounts let you set aside money for medical expenses. Use them to cover co-pays, prescriptions, or deductibles.
Compare Prices Before Treatment
Use tools like ClearHealthCosts or your insurer’s price estimator to compare costs for procedures. For example, an MRI might cost $1,200 at one facility and $2,500 at another.
Conclusion: Claim with Confidence
Claiming medical insurance doesn’t have to be a source of stress. With the right knowledge, organization, and mindset, you can navigate the process with ease. From understanding your policy to filing claims and appealing denials, each step becomes simpler when you’re prepared.
Remember: insurance is there to protect you—not to confuse you. By taking control of the process, you’re not just saving money; you’re gaining peace of mind. So the next time you need medical care, do it with confidence. File your claim, track your progress, and know your rights. After all, you’ve earned the coverage you’ve paid for—and you deserve to claim it without the headache.
Frequently Asked Questions
How long does it take to get a medical insurance claim approved?
Most claims are processed within 15–30 days. However, complex cases or incomplete submissions may take longer. You can track your claim status online or by calling your insurer.
What should I do if my claim is denied?
Review the denial reason, gather supporting documents, and file a formal appeal within the deadline. Many insurers allow appeals within 60–180 days of the denial.
Can I claim medical insurance for out-of-network providers?
Yes, but coverage is often limited and costs more. You may need to pay upfront and submit a claim for partial reimbursement. Check your policy for details.
Do I need to pay for medical services before filing a claim?
Not always. Some providers offer direct billing to insurers. If not, you may pay out of pocket and submit a claim for reimbursement.
What information do I need to file a medical insurance claim?
You’ll typically need: itemized bills, provider details, dates of service, diagnosis codes, and your policy number. Some insurers also require a completed claim form.
Can I use digital tools to manage my medical insurance claims?
Yes! Most insurers offer online portals or mobile apps to file, track, and manage claims. These tools often include document uploads and real-time status updates.